How to create a WordPress popup based on Location
Are you trying to create a WordPress popup based on your business location?
Creating a popup in your WordPress website based on your location can increase your sales and conversion. If you run a location-based business then this process brings a huge advantage for you. Even nonlocal businesses will also be benefited from the location-based popup feature.
This process is called location-based marketing. With this process, you can send offers and promotions for the users of a specific location. Suppose you are running a local business so you can set a popup for the location near your shop so that the people who are in that area will see the promotional offer that can attract them to buy from your store.
For an online shop, location-based marketing is also important. You can target any area to offer any promotion for that area. So without a physical store, you can sell your products using targeting marketing. You can easily create a WordPress popup based on location to promote your offer.
Here in this article, you will show how to easily create a WordPress popup based on location.
Create a WordPress popup based on Location
The easiest way to create a WordPress popup is to use a plugin. Here we are using the Popups – WordPress Popup
plugin. At first, install and activate the plugin. After activating the plugin you can see the Popups option in your dashboard. Go to Popups > Settings where you can set the plugin settings.
For location-based popup, you need to add another plugin that will add the location features in this Popups plugin settings option.
Install and activate the GeoTargeting Lite plugin to have this extra feature.
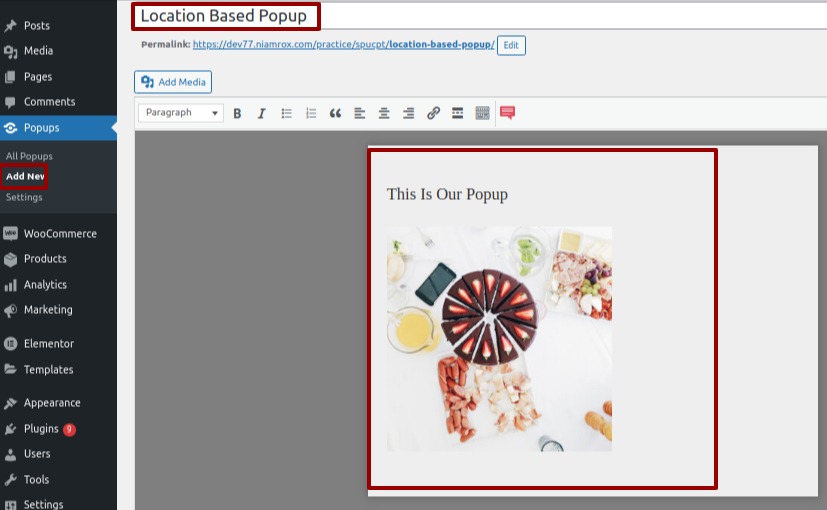
To create the location-based popup click on the add new option. From the title, option add a title to your popup, and then from the content field, you can add media or text or link whatever you want to show in the popup.
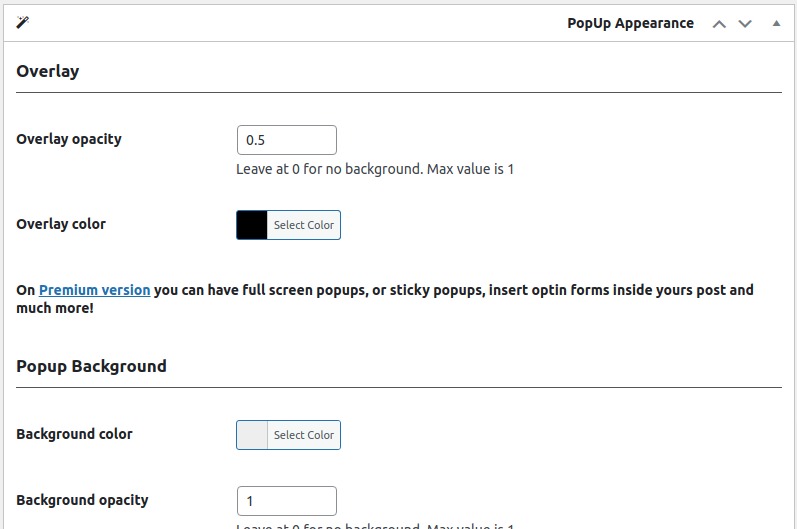
Now scroll down to see the other options. From the popup, the appearance menu sets the overlay opacity and overlay color. You can also set the background color and background opacity.
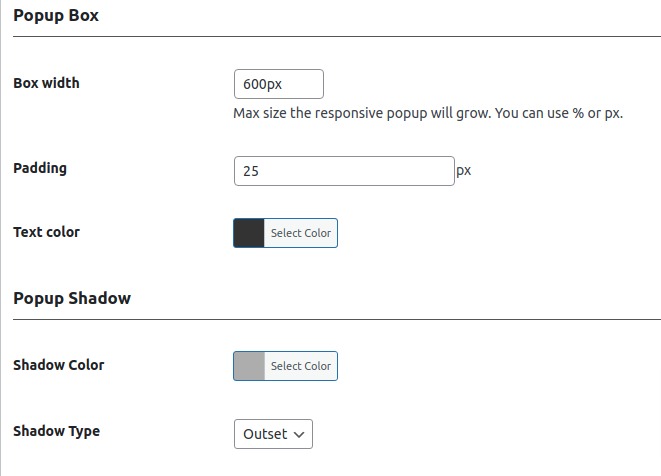
From the popup box option, you can set the box width, padding, and text color. Add box-shadow and shadow type from the popup shadow option.
You can also add border type, border shadow, hover effect, color from here. There are also many features to add just check that out and add your style.
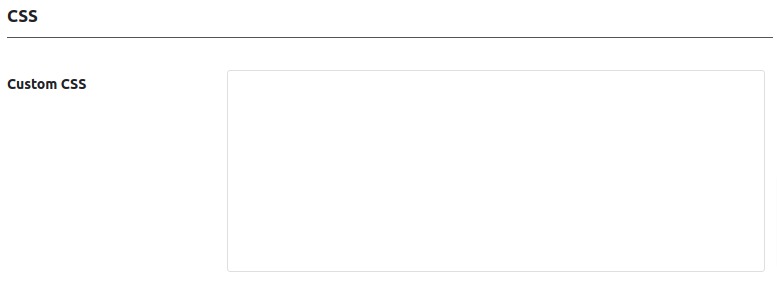
If you want to make your own style you can add custom CSS in the custom CSS field.
After style, your popup section moves on to the popup display rules where you can set the rules to show the popup.
From the show, this popup dropdown menu selects the country option. This option will only show when you install the GeoTargeting Lite plugin. Without this plugin, this option will not show you.
So select country and then choose is equal to show the popup in the selected country. If you want to hide popup from any selected location then you can choose the is not equal to option.
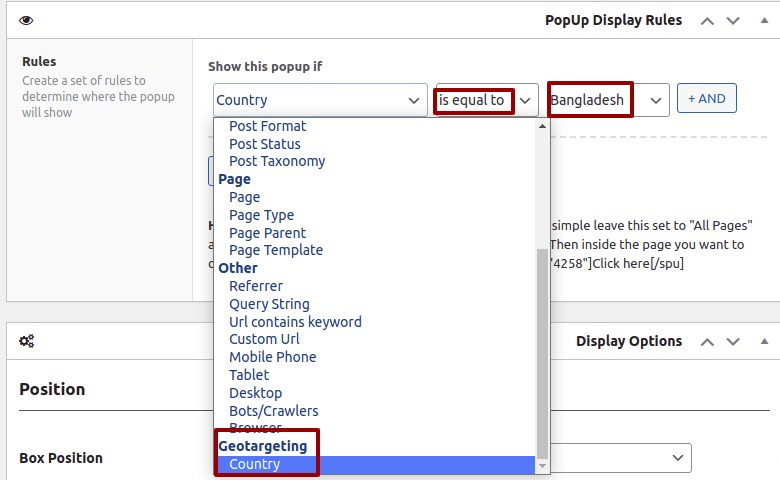
At last, choose the location where you want to show the popup.
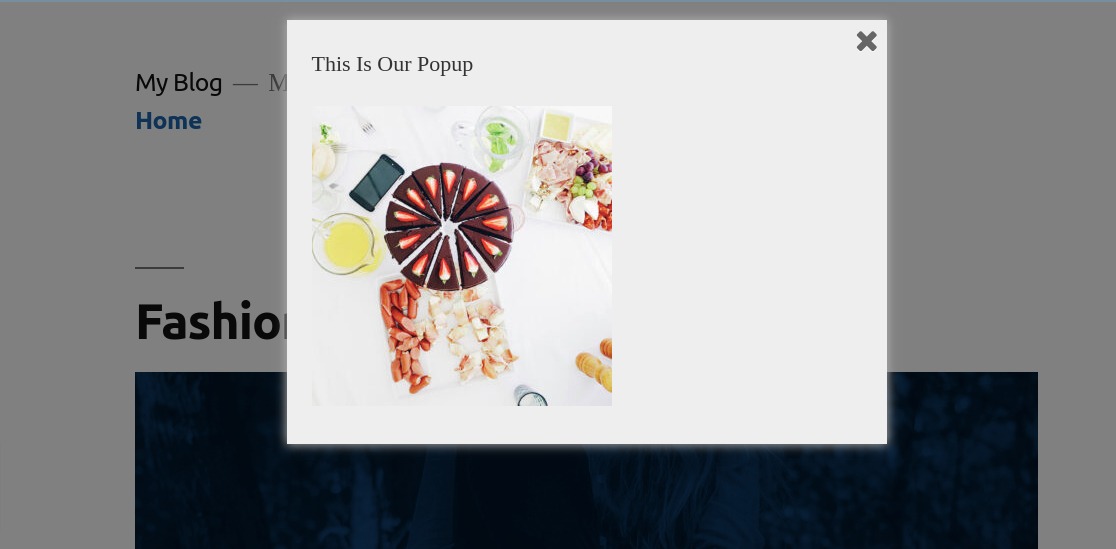
After setting all the options click on the publish button and go to your website to see your popup.
Wrapping up
Following this process, you can easily add a location-based popup to your website. You can style your popup as you want. You can see our other articles to learn Tips to work as a pro in WooCommerce customization
Ways to determine your WordPress theme performance
PSD to WordPress : 5 ways to make your website efficient
We hope this article will help you. If you like this article please like our Facebook Page to stay connected.


